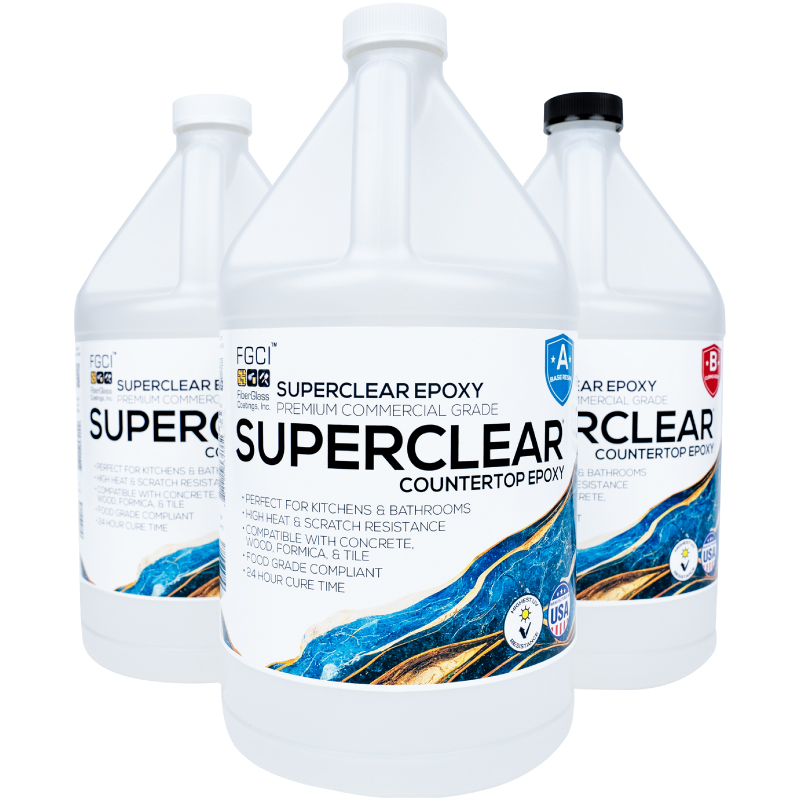
Superclear Countertop Epoxy
3 Gallon Kit
Exceptional Heat & Scratch Resistance
SuperClear Countertop Epoxy cures to a rock-hard finish with excellent heat resistance, ensuring your countertops stand up to years of daily use without any issues!
Extended Work Time
Thanks to its low viscosity, this epoxy formula provides you with more time to craft the perfect look for your kitchen or bathroom countertops.
Proudly Made in the USA
SuperClear Countertop Epoxy is the ideal choice for your next countertop project! With its easy-to-use, food-safe, impact, and scratch-resistant properties, you can count on stunning, long-lasting results for your kitchen, bathroom, or tabletop.
$279.99
Directions
Step 1: Refer to the Coverage Chart to calculate the amount of epoxy needed for your project. For optimal results, make sure to prime and seal your surface beforehand!
Step 2: Ensure the work area is clean, dry, and maintained at a temperature of at least 70°F for the best outcome. Place plastic sheeting beneath your project for easy cleanup. Also, ensure the surface is completely level, as the epoxy will naturally self-level.
Step 3: Create a tape dam around the edges to prevent the epoxy from spilling over the sides.
Step 4: Measure 2 parts resin to 1 part curing agent, then pour them into a clean, dry mixing container. Stir the mixture thoroughly for 5 minutes with a low-speed drill mixer. Be careful not to introduce air bubbles into the epoxy. Make sure to scrape the sides and bottom of the container to ensure full mixing.
Step 5: Transfer the mixture to a new clean, dry container and mix for an additional 3 minutes, scraping the sides and bottom again. Once fully mixed, add the pigment and stir until fully blended.
Step 6: Pour the mixture in a zig-zag pattern across the surface, then spread it thinly with a notched trowel. Avoid scraping the sides of the bucket at this point to prevent introducing unmixed material, which could lead to soft or hot spots.
Step 7: Use a heat gun carefully to eliminate air bubbles. Hold the gun at least 6 inches above the surface and move it back and forth until all bubbles are gone. Avoid holding the heat gun in one spot for too long, as this may distort the surface.
Step 8: Once the epoxy begins to gel or thicken slightly, carefully remove the tape dams and allow the epoxy to flow over the edges. Use a gloved hand to smooth and spread the material, ensuring full coverage on all sides.


Reviews